Want to turn this into production assets?
Open Vibart to generate images or videos, then finish brand text, crops, and export-ready layouts on the canvas.
Starting with a Clear Visual Direction
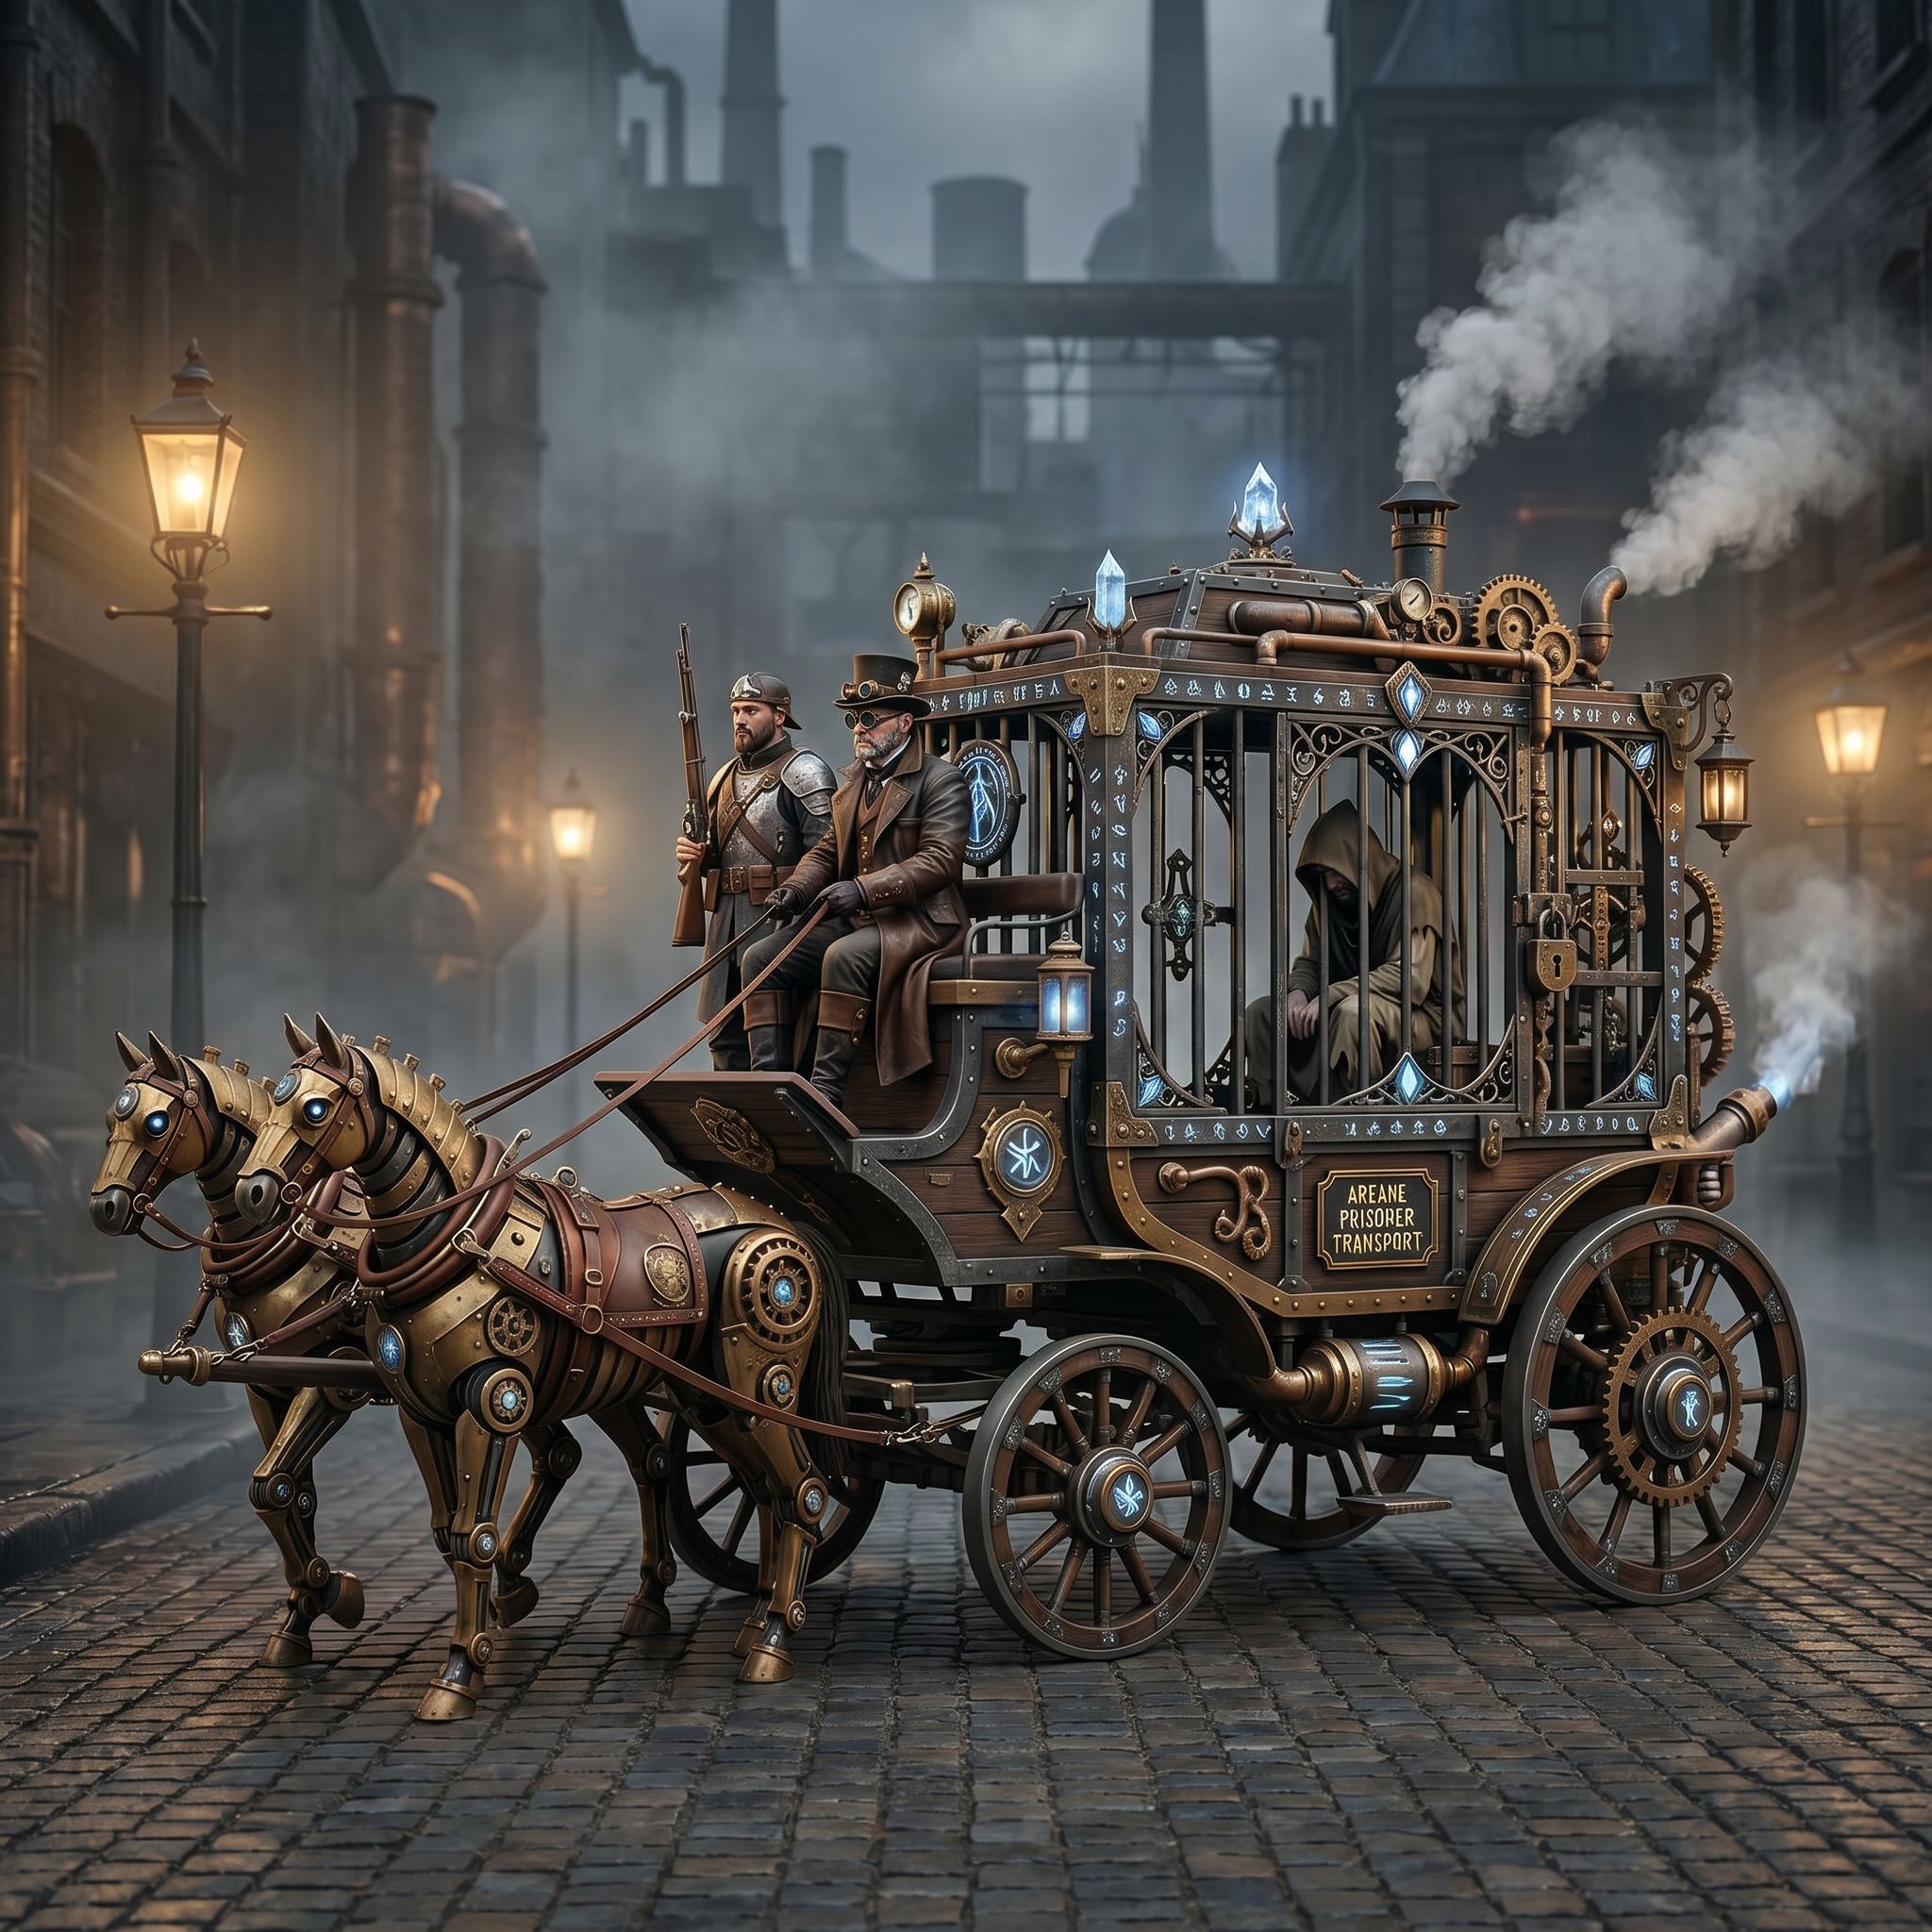
The Steampunk Horse Car project began with a specific style target: convert an existing concept into an Unreal Engine rendering aesthetic. This kind of style-transfer prompt is common in game design pipelines where concept art must match the engine's material response, lighting model, and post-process look.
Instead of generating from scratch, the creator used a reference-guided approach — feeding the base image into the workspace and directing the model toward PBR-ready outputs with realistic metalness, roughness, and subsurface scattering that Unreal's renderer expects.
Reference-Guided Editing for Brand and Style Consistency
Reference-guided editing lets you preserve structural elements — silhouette, proportion, mechanical details — while shifting the rendering style. In this workflow, the horse-carriage hybrid kept its steampunk gearwork, brass fittings, and leather straps, but the surfacing moved from painterly concept to physically based materials.
Key steps in the canvas:
1. Import the reference as a locked background layer. 2. Mask regions that need material changes (brass → polished metal, wood → weathered timber, glass → refractive shader). 3. Apply style prompts per region rather than globally, so each material gets its own descriptor. 4. Iterate with low-resolution previews before committing to full-resolution passes.
This layer-based approach mirrors how environment artists work in DCC tools, but compressed into a single canvas session.
Canvas Layers as a Production Design Tool
The editable canvas is where the workflow shifts from generation to production design. Each layer can hold:
- Base generation — the initial style transfer result.
- Detail passes — high-frequency detail like rivet heads, hose routing, wear masks.
- Lighting alignment — a directional light paint layer to unify shadow direction across elements.
- Typography and callouts — for design review decks or marketing variants.
Because layers are non-destructive, you can A/B material variants (e.g., oxidized copper vs. polished brass) without re-generating the whole asset. This is especially valuable when preparing asset packs for Unreal where material instances derive from a master.
Crop Variants and Aspect Ratios for Multi-Channel Use
A single hero asset often needs multiple crops: square for marketplace thumbnails, 16:9 for trailer frames, 9:16 for social verticals, and custom safe zones for UI overlays. The canvas workflow lets you define crop presets once, then export all variants in a batch.
For the Steampunk Horse Car, the creator set up three export presets:
- Hero 16:9 — full vehicle with environmental context for portfolio.
- Square 1:1 — centered on the mechanical horse for asset store listing.
- Vertical 9:16 — close-up on gearwork for Instagram/TikTok teasers.
Each preset retains layer visibility settings, so the typography layer appears only on marketing crops, not on the clean asset delivery.
Production-Ready Exports: What "Ready" Actually Means
Exporting for Unreal isn't just a PNG. The workflow includes:
- EXR with alpha for compositing in Nuke or After Effects.
- Separate material ID masks (RGB channels = base color / normal / roughness) so the technical artist can rebuild shaders in the engine.
- Naming convention compliance —
SM_HorseCar_Body,SM_HorseCar_Gears, etc., matching the project's asset browser structure. - Color space tags — sRGB for albedo, linear for normal/roughness, embedded in metadata.
When these exports land in the content browser, they slot into the material pipeline without manual renaming or channel swapping.
Lessons for Your Own Pipeline
1. Prompt for the renderer, not just the look. "Unreal Engine style" is shorthand for PBR materials, deferred lighting response, and temporal AA compatibility. Spell out the material channels you need.
2. Use regional prompting on canvas layers. Global style prompts bleed across materials. Mask and prompt per surface type.
3. Build export presets before you finish the hero. Retrofitting crops and naming conventions later costs more time than defining them upfront.
4. Keep a "clean" layer stack. Hide marketing layers (logos, taglines) from the asset delivery export. One canvas, two output modes.
5. Version the canvas file. Save iterations as .vibart snapshots so you can roll back to the pre-lighting-alignment state if the art director requests a different time of day.
Scaling the Workflow: From One Asset to a Fleet
The same canvas file can spawn variants — swap the horse head for a mechanical bull, reskin the carriage for a military supply wagon, reuse the gearwork library across a faction's vehicle line. Because the layer structure is consistent, a junior artist can produce variants while the lead focuses on the hero.
This is where the workspace shifts from a generation tool to a production design system: reusable layer templates, shared material libraries, and export presets that enforce studio standards across the team.
---
Explore the Steampunk Horse Car project and try the canvas workflow yourself. Start a new project, import a reference, and build your first Unreal-ready export preset.
Sources and further reading
The workflow and platform rules in this article are grounded in these primary references. Confirm current rules for your market and channel before publishing.
- Vibart community work: Steampunk Horse CarVibart community · 2026-04-27
Next step: make one asset with the same workflow
Do not stop at the comparison page. Upload a reference, generate a direction, then keep copy and brand elements editable on the canvas.