Want to turn this into production assets?
Open Vibart to generate images or videos, then finish brand text, crops, and export-ready layouts on the canvas.
From Concept to Engine-Ready Render
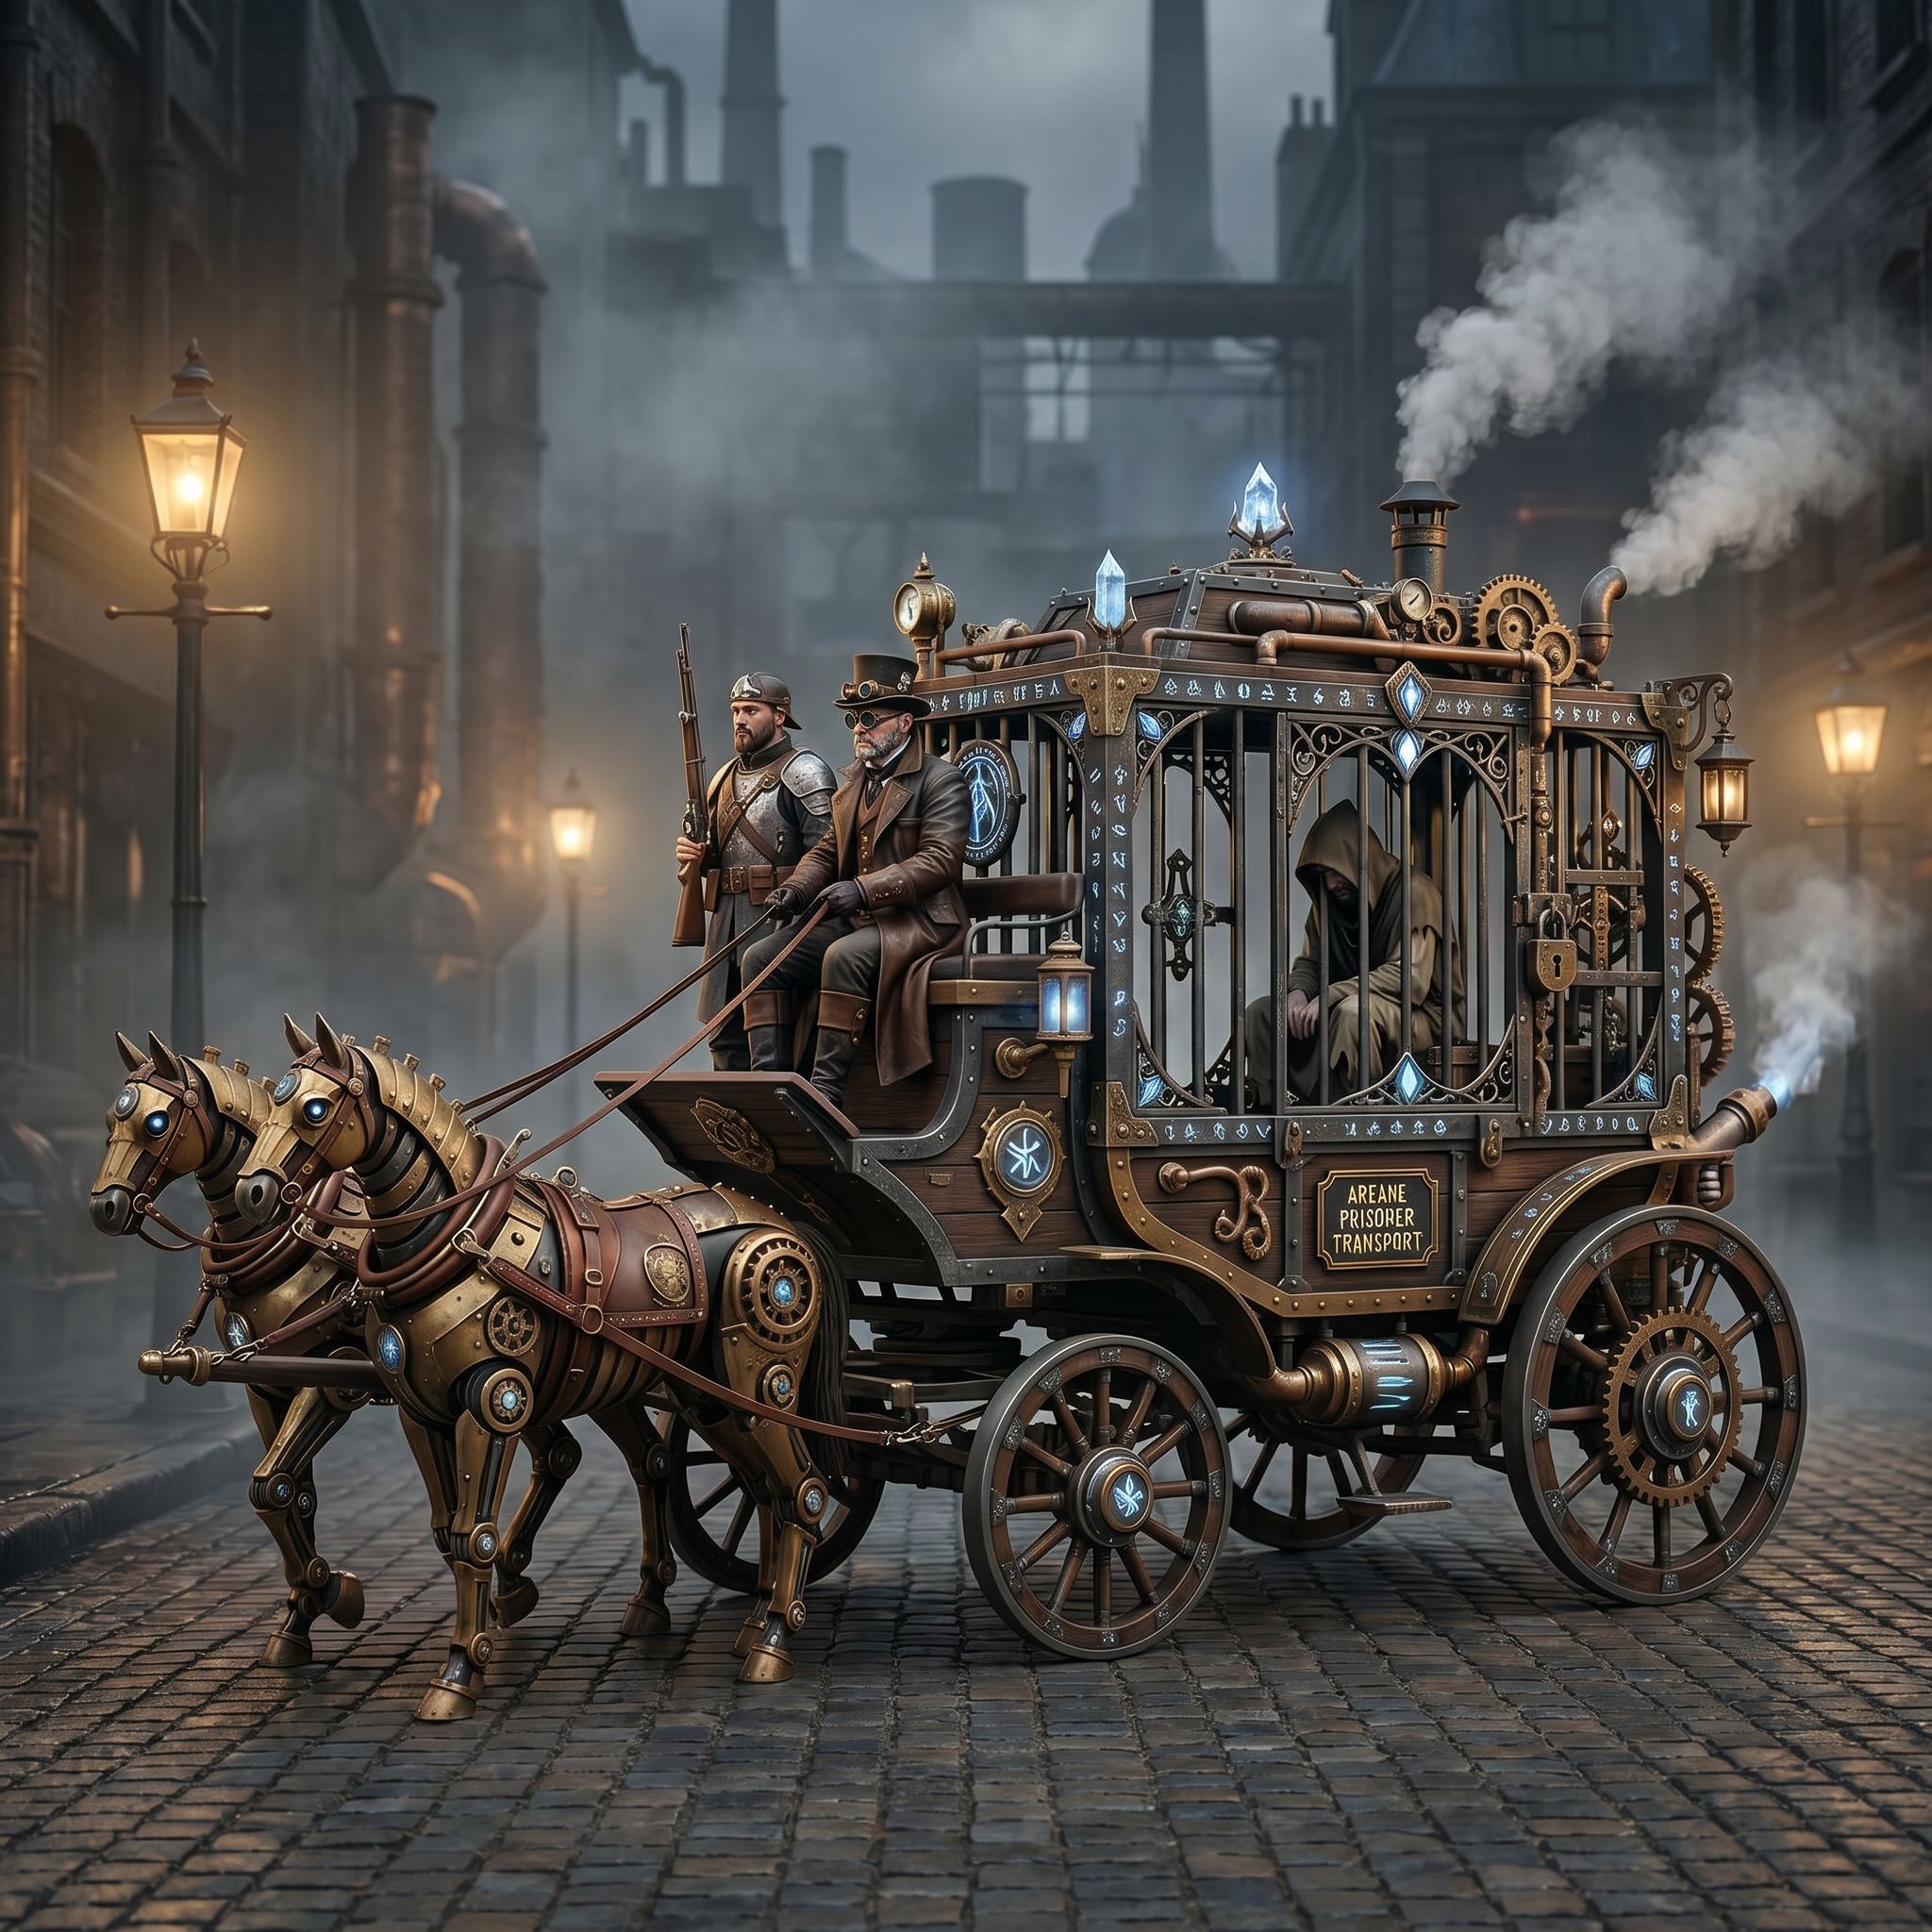
A Vibart community member recently shared a Steampunk Horse Car project with a clear goal: convert an existing style into an Unreal Engine rendering aesthetic. The prompt — "把这个风格转换成 unreal engine 渲染的风格" (convert this style to Unreal Engine rendering style) — reveals a common production need: adapting concept art for real-time engine pipelines.
This workflow spotlight dissects how AI creative workspaces handle style transfer for specific rendering targets, using reference-guided editing and canvas-based production design.
Deconstructing the Visual Direction
The Steampunk Horse Car combines Victorian mechanical aesthetics with fantasy vehicle design. Key visual markers include:
- Brass and copper material definitions with subsurface scattering
- Gear-driven mechanical details requiring normal map depth
- Volumetric lighting through steam and particle effects
- PBR-ready material separation (metal, leather, glass, emissive)
When targeting Unreal Engine, these elements must translate to physically based rendering workflows. The AI workspace needs to understand not just "steampunk style" but "Unreal Engine steampunk" — meaning proper roughness/metallic values, emissive channel isolation, and geometry-aware edge wear.
Prompt Engineering for Engine-Specific Rendering
The community prompt uses direct style conversion language. In practice, effective prompts for engine-targeted generation include:
Render engine keywords: "Unreal Engine 5 render," "Nanite geometry," "Lumen global illumination," "ray-traced reflections"
Material specification: "PBR materials, separate metallic/roughness/normal maps, 4K texture resolution"
Lighting context: "studio lighting setup, HDRI environment, volumetric fog, subsurface scattering on organic materials"
Technical constraints: "game-ready topology, UV unwrapped, modular kitbash components"
Layering these directives helps the model output assets that require less post-processing for engine integration.
Reference-Guided Editing for Style Transfer
The core workflow uses reference image editing — uploading the original concept and guiding the model toward the target render style. This approach preserves:
- Composition integrity: Camera angle, focal length, and framing stay consistent
- Design language: Silhouette, proportion, and mechanical logic remain intact
- Brand consistency: If this were a production asset, color palette and material vocabulary stay aligned
In a canvas-based workspace, you can isolate regions for targeted editing: apply Unreal Engine metalness to brass gears while keeping leather straps on a separate layer with distinct roughness. Reference strength sliders control how much the original concept influences versus the target render style.
Canvas Layer Management for Production Assets
Editable canvas layers transform a flat generation into a production pipeline asset:
Base render layer: The full Unreal Engine style composition Material ID masks: Auto-generated or manually painted masks for metal, glass, emissive, fabric Lighting passes: Separate direct, indirect, and volumetric lighting layers for compositing control Edge wear/dirt masks: Procedural or painted masks for realistic weathering Typography/decals layer: For any branding, gauges, or manufacturer marks — critical for game assets
Each layer exports independently, giving technical artists control in Unreal's material editor. Crop variants handle different aspect ratios for thumbnails, portfolio shots, and in-engine previews.
Exporting for Game-Ready Pipelines
Production-ready exports from an AI creative workspace should deliver:
- EXR or 16-bit TIFF for HDR lighting data
- Separate channel packs: RGB = base color, A = roughness; RGB = normal, A = height; RGB = metallic/ambient occlusion/emissive
- UDIM-ready naming if the asset uses multiple texture tiles
- Color space metadata (sRGB for base color, linear for data maps)
- Resolution variants: 4K hero, 2K LOD, 1K mobile
Some workspaces also export USD or glTF containers with material graphs pre-connected for Unreal's MaterialX workflow.
Key Takeaways for Your Workflow
1. Name the target engine explicitly in prompts — "Unreal Engine 5 render" produces different material logic than "photorealistic render" 2. Use reference-guided editing to preserve design intent while shifting render paradigm 3. Structure canvas layers by material channel, not just visual groups — this maps directly to shader inputs 4. Export channel-packed textures with proper color space tagging to avoid rework in-engine 5. Generate crop variants early for marketing, documentation, and LOD planning
Whether you're evaluating an AI design agent alternative, comparing AI creative workspace options, or building a Lovart alternative evaluation matrix, this workflow pattern — concept → reference-guided style transfer → layered canvas → channel-packed export — scales from solo indie dev to studio pipelines.
The Steampunk Horse Car example demonstrates that engine-targeted AI generation isn't about a single magic prompt. It's a structured process: define the render target, guide with references, separate concerns into layers, export for the pipeline. That process works whether you're generating ecommerce product images, marketing video keyframes, or game-ready hero assets.
Sources and further reading
The workflow and platform rules in this article are grounded in these primary references. Confirm current rules for your market and channel before publishing.
- Vibart community work: Steampunk Horse CarVibart community · 2026-04-27
Next step: make one asset with the same workflow
Do not stop at the comparison page. Upload a reference, generate a direction, then keep copy and brand elements editable on the canvas.