Want to turn this into production assets?
Open Vibart to generate images or videos, then finish brand text, crops, and export-ready layouts on the canvas.
From Concept to Unreal Engine Look: An AI Style-Transfer Workflow for Game Design
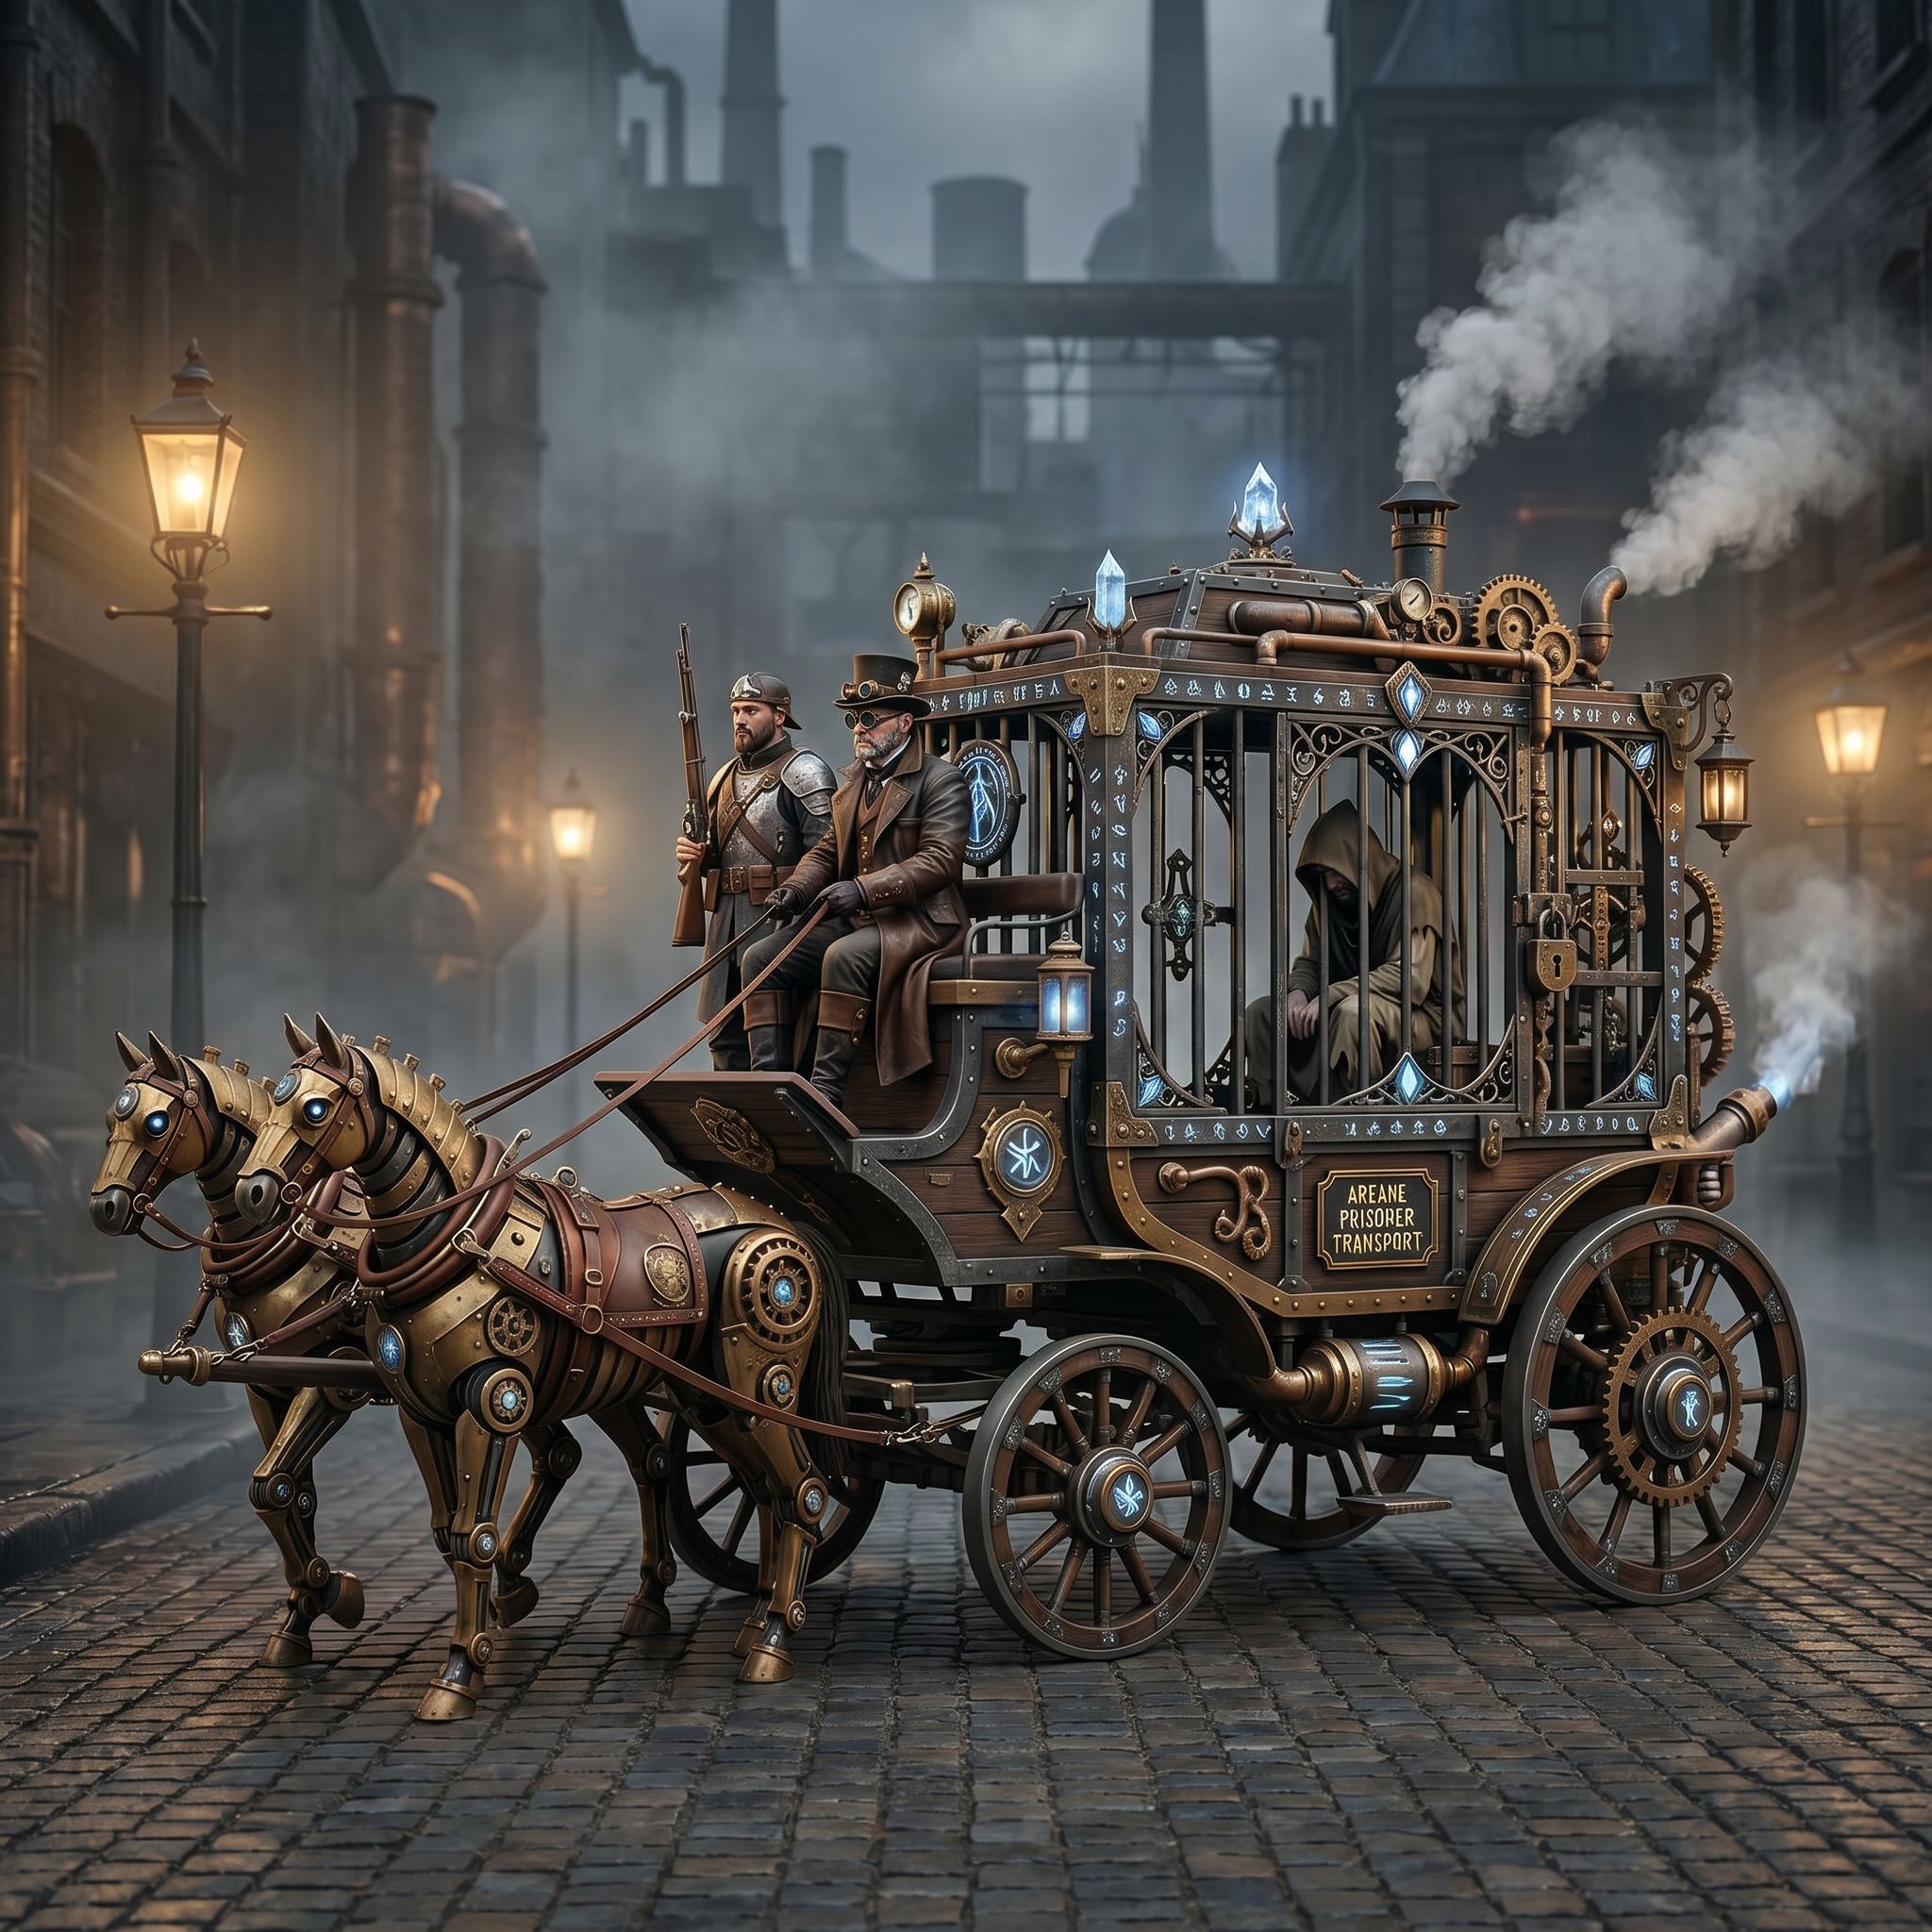
When a game designer needs to visualize a concept in a specific engine's rendering style, the gap between 2D concept art and 3D look-dev can slow down iteration. A recent Vibart community submission — Steampunk Horse Car — demonstrates how reference-guided generation and canvas-based editing can close that gap in a single workflow.
The Starting Point: A Steampunk Vehicle Concept
The source image shows a horse-drawn carriage reimagined with steampunk detailing: brass fittings, exposed gears, pressure gauges, and a Victorian-meets-industrial silhouette. The creator's goal was straightforward: "Convert this style to Unreal Engine rendering style." (Original prompt: 把这个风格转换成 unreal engine 渲染的风格)
This prompt reveals a practical pattern: instead of describing the subject from scratch, the creator anchored the generation to an existing visual reference and specified a target render aesthetic.
Why Reference-Guided Style Transfer Works for Game Art
Game pipelines often require concept art to match a target engine's material response, lighting model, and post-process look. Traditional concept-to-3D handoff involves:
1. Concept artist produces paint-overs 2. 3D artist interprets materials and lighting 3. Look-dev iteration in-engine
With an AI creative workspace that supports reference image editing and editable canvas layers, designers can compress steps 1–2 by generating engine-style variants directly on the canvas, then refining specific regions — materials, lighting, atmosphere — before handing off to 3D.
Prompt Strategy: Anchor + Target Aesthetic
The community prompt follows a two-part structure that generalizes well:
- Anchor: "this style" — the input reference image
- Target: "Unreal Engine rendering style" — a known render aesthetic (PBR materials, dynamic global illumination, post-process tone mapping)
In practice, you can extend this pattern:
[Reference image] + "Convert to [Target Engine/Renderer] style, [specific qualities: PBR metals, volumetric fog, screen-space reflections]"
Adding specific render keywords ("PBR," "nanite-level detail," "lumen GI") steers the model toward the technical vocabulary of the target pipeline.
Canvas Finishing: From Generation to Production-Ready Asset
The Vibart canvas lets you treat the generated output as a layered composition rather than a flat bitmap. For a game-design handoff, useful finishing steps include:
1. Layer separation — isolate the vehicle, environment, and effects onto separate layers for individual color grading 2. Material callouts — use annotation layers to flag PBR channels (albedo, roughness, metalness) for the 3D team 3. Crop variants — export square (concept sheet), 16:9 (presentation), and vertical (mobile reference) from the same canvas 4. Typography control — add spec labels, scale bars, or version numbers directly on the canvas with editable text layers 5. Production-ready export — PNG with alpha for the hero asset, EXR for HDR lighting reference, layered PSD for downstream editing
Adapting This Workflow to Your Pipeline
| Stage | Traditional | AI-Assisted (Canvas Workflow) | |-------|-------------|-------------------------------| | Concept iteration | Days (paint-overs) | Minutes (reference-guided generations) | | Material exploration | Manual studies | Style-transfer variants per material | | Lighting mood boards | 3D blockout + render | Prompt-driven lighting variants | | Handoff package | PDF + loose files | Single layered canvas export |
Practical Takeaways for Game Designers
- Start with a strong reference — the anchor image carries silhouette, proportion, and design language; the prompt only shifts the render style.
- Name the target renderer explicitly — "Unreal Engine 5 style," "Unity HDRP look," "Blender Cycles aesthetic" each carry distinct visual priors.
- Use canvas layers for technical communication — not just visual polish. Material callouts and spec annotations turn a pretty image into a usable handoff artifact.
- Export variants from one canvas — avoid re-generating for each aspect ratio; crop and re-frame on the canvas.
Extending Beyond Game Design
The same anchor + target-aesthetic pattern applies to:
- Ecommerce product shots — reference photo → "studio lighting, 8K product render style" → layered canvas for background swap and typography
- Marketing video keyframes — storyboard frame → "cinematic grading, anamorphic lens" → canvas timeline for frame-to-frame consistency
- Brand asset adaptation — logo/mascot → "flat vector style / 3D isometric / clay render" → crop variants for social, web, print
Try the Workflow
1. Upload your concept reference to the canvas 2. Prompt: "Convert to [Target Engine/Style] rendering, [specific qualities]" 3. Generate 3–4 variants, keep the strongest on separate layers 4. Annotate material zones, add spec text, frame crop variants 5. Export layered PSD + PNG set for your pipeline
This approach turns a single reference into a multi-asset handoff package without leaving the canvas — keeping creative direction and technical spec in one living document.
Sources and further reading
The workflow and platform rules in this article are grounded in these primary references. Confirm current rules for your market and channel before publishing.
- Vibart community work: Steampunk Horse CarVibart community · 2026-04-27
Next step: make one asset with the same workflow
Do not stop at the comparison page. Upload a reference, generate a direction, then keep copy and brand elements editable on the canvas.