Comparing Lovart or AI design agents? Test the production workflow.
Generate with references, then finish headlines, logos, offer text, crops, and export-ready layouts in the Vibart canvas.
Why canvas-first AI workflows are replacing single-prompt generators
Designers searching for a Lovart alternative, an AI design agent alternative, or a Lovart competitor for ecommerce creatives tend to land on the same conclusion: one-shot generators produce a beautiful frame, but they rarely produce a deliverable. Marketing assets, game key art, and product photography all need layers, brand references, type, and crop variants before they ship.
That gap is exactly what an AI creative workspace comparison should surface. A canvas-first tool lets you keep the original sketch, the reference image, the rendered output, and the typography layer in the same frame, so iteration looks like editing, not re-rolling.
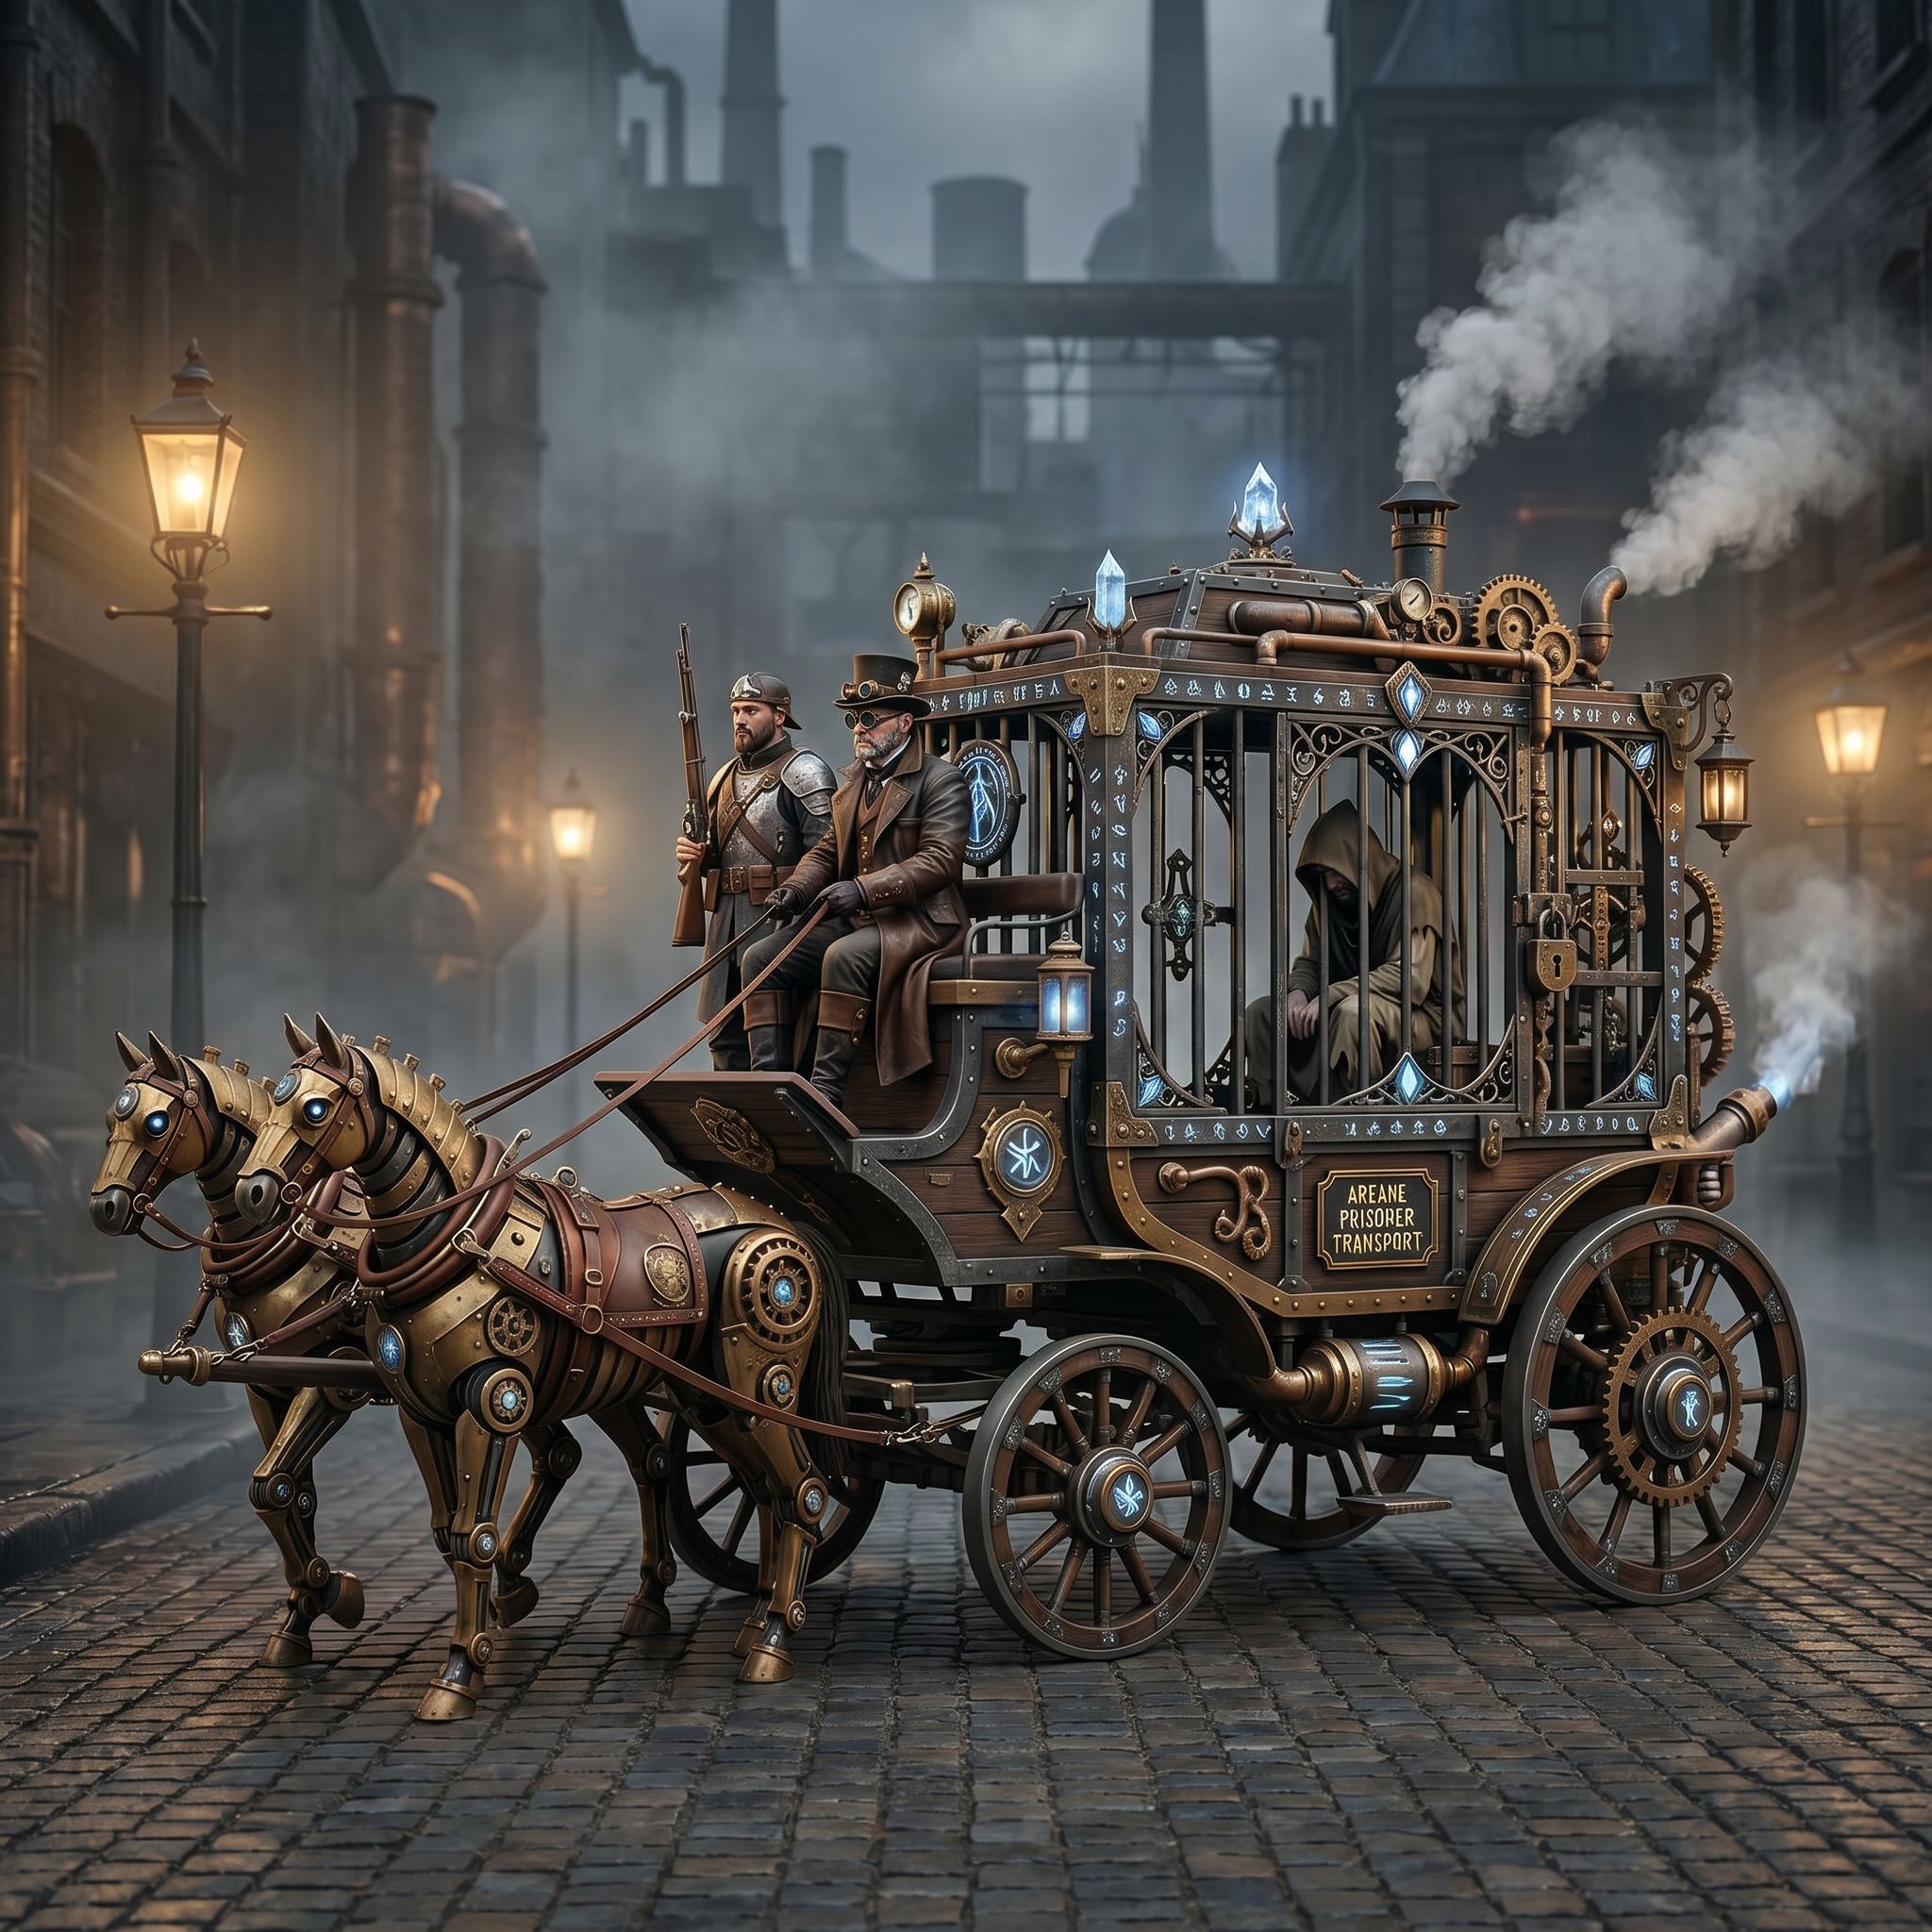
The community spark: steampunk horse car, Unreal Engine render
The source piece from the Vibart community is titled Steampunk Horse Car and was shared in the Game Design category on 2026-04-27. The prompt is short and deliberately directional: convert an existing visual style into an Unreal Engine rendered look.
That single instruction does three useful things for anyone studying AI image generation workflow:
- It keeps the silhouette and proportions of the original concept intact.
- It pushes the renderer toward physically based lighting, metal shaders, and depth of field — the visual grammar of real-time engines.
- It leaves room for the creator to layer brass highlights, rivets, and atmosphere on the canvas after the first pass.
For ecommerce sellers and marketers, the same shape of prompt — "keep the product silhouette, change the lighting and material language" — is the core of reference-guided editing and brand consistency.
A canvas workflow you can reuse beyond game art
Step 1 — Pin the reference layer
Drop the original sketch or product photo into the canvas as the bottom layer. Treat it as a non-negotiable. This is your brand-locked reference image, and every generation step below it should respect its silhouette and proportions.
Step 2 — Generate with a renderer-style prompt
Run an image generation pass aimed at a specific render target: Unreal Engine, Octane, KeyShot, or a glossy studio look for ecommerce. The community prompt is a clean example because it names the engine instead of describing mood. That keeps output consistent across revisions.
Step 3 — Use reference-guided editing, not re-rolls
When the first pass is close but the brass trim is too clean or the rim light is too warm, edit on the canvas instead of regenerating. Mask the trim, push a new material pass, and lock it. This is where reference image editing and brand consistency actually live.
Step 4 — Add canvas layers for typography and overlays
A rendered frame is rarely a final asset. Add an editable canvas layer for the campaign headline, a legal line, a logo lockup, and a call-to-action badge. Type lives above the render, not inside it, so you can resize crops without redrawing the hero.
Step 5 — Produce crop variants for every channel
From the layered master, export:
- 1:1 product card for a marketplace listing
- 9:16 vertical cut for short-form video and reels
- 16:9 wide key art for the landing page
- 4:5 social tile for a paid ad
Because the canvas is editable, crop variants are crops, not fresh generations. That is the production advantage most Lovart vs Vibart AI creative workflow discussions miss.
Step 6 — Hand off to video when motion sells the asset
For ad creatives and product hero loops, the same canvas state feeds an AI video generation pass. The rendered still becomes frame zero, and a short prompt adds parallax, steam, or a slow dolly. Marketers searching for AI video generation for ads usually do not need a fresh scene — they need their still asset moving.
What a Lovart alternative AI design canvas should actually do
If you are comparing AI design workspaces for serious production, score them on these canvas behaviors rather than on a single hero render:
- Can you keep the reference layer visible while generating?
- Can you edit specific regions without losing brand-locked elements?
- Can typography, crops, and overlays live in editable layers?
- Can the same canvas drive ecommerce product image generation, social crops, and motion variants?
- Does the workspace feel like a delivery tool, not a prompt toy?
Vibart is built around those answers. The steampunk community piece is a small example, but the pattern — reference pinned, renderer targeted, layers edited, crops exported — scales from a single concept sketch to a full ecommerce product mockup set.
Takeaways for designers and ecommerce teams
- Treat the AI canvas as a production layout, not a gallery wall.
- Name the renderer, material, or lighting target in the prompt instead of describing mood.
- Lock brand-locked elements on a reference layer before you generate.
- Build crop variants from a layered master instead of from new prompts.
- Reserve AI video generation for motion that serves the still asset, not for replacing it.
That is the workflow the steampunk horse car prompt hints at, and it is the same workflow ecommerce sellers, marketers, and game artists can reuse on a Lovart alternative AI design canvas this week.
Sources and further reading
The workflow and platform rules in this article are grounded in these primary references. Confirm current rules for your market and channel before publishing.
- Vibart community work: Steampunk Horse CarVibart community · 2026-04-27
Next step: make one asset with the same workflow
Do not stop at the comparison page. Upload a reference, generate a direction, then keep copy and brand elements editable on the canvas.