Comparing Lovart or AI design agents? Test the production workflow.
Generate with references, then finish headlines, logos, offer text, crops, and export-ready layouts in the Vibart canvas.
From a Single Community Render to a Repeatable Game Design Workflow
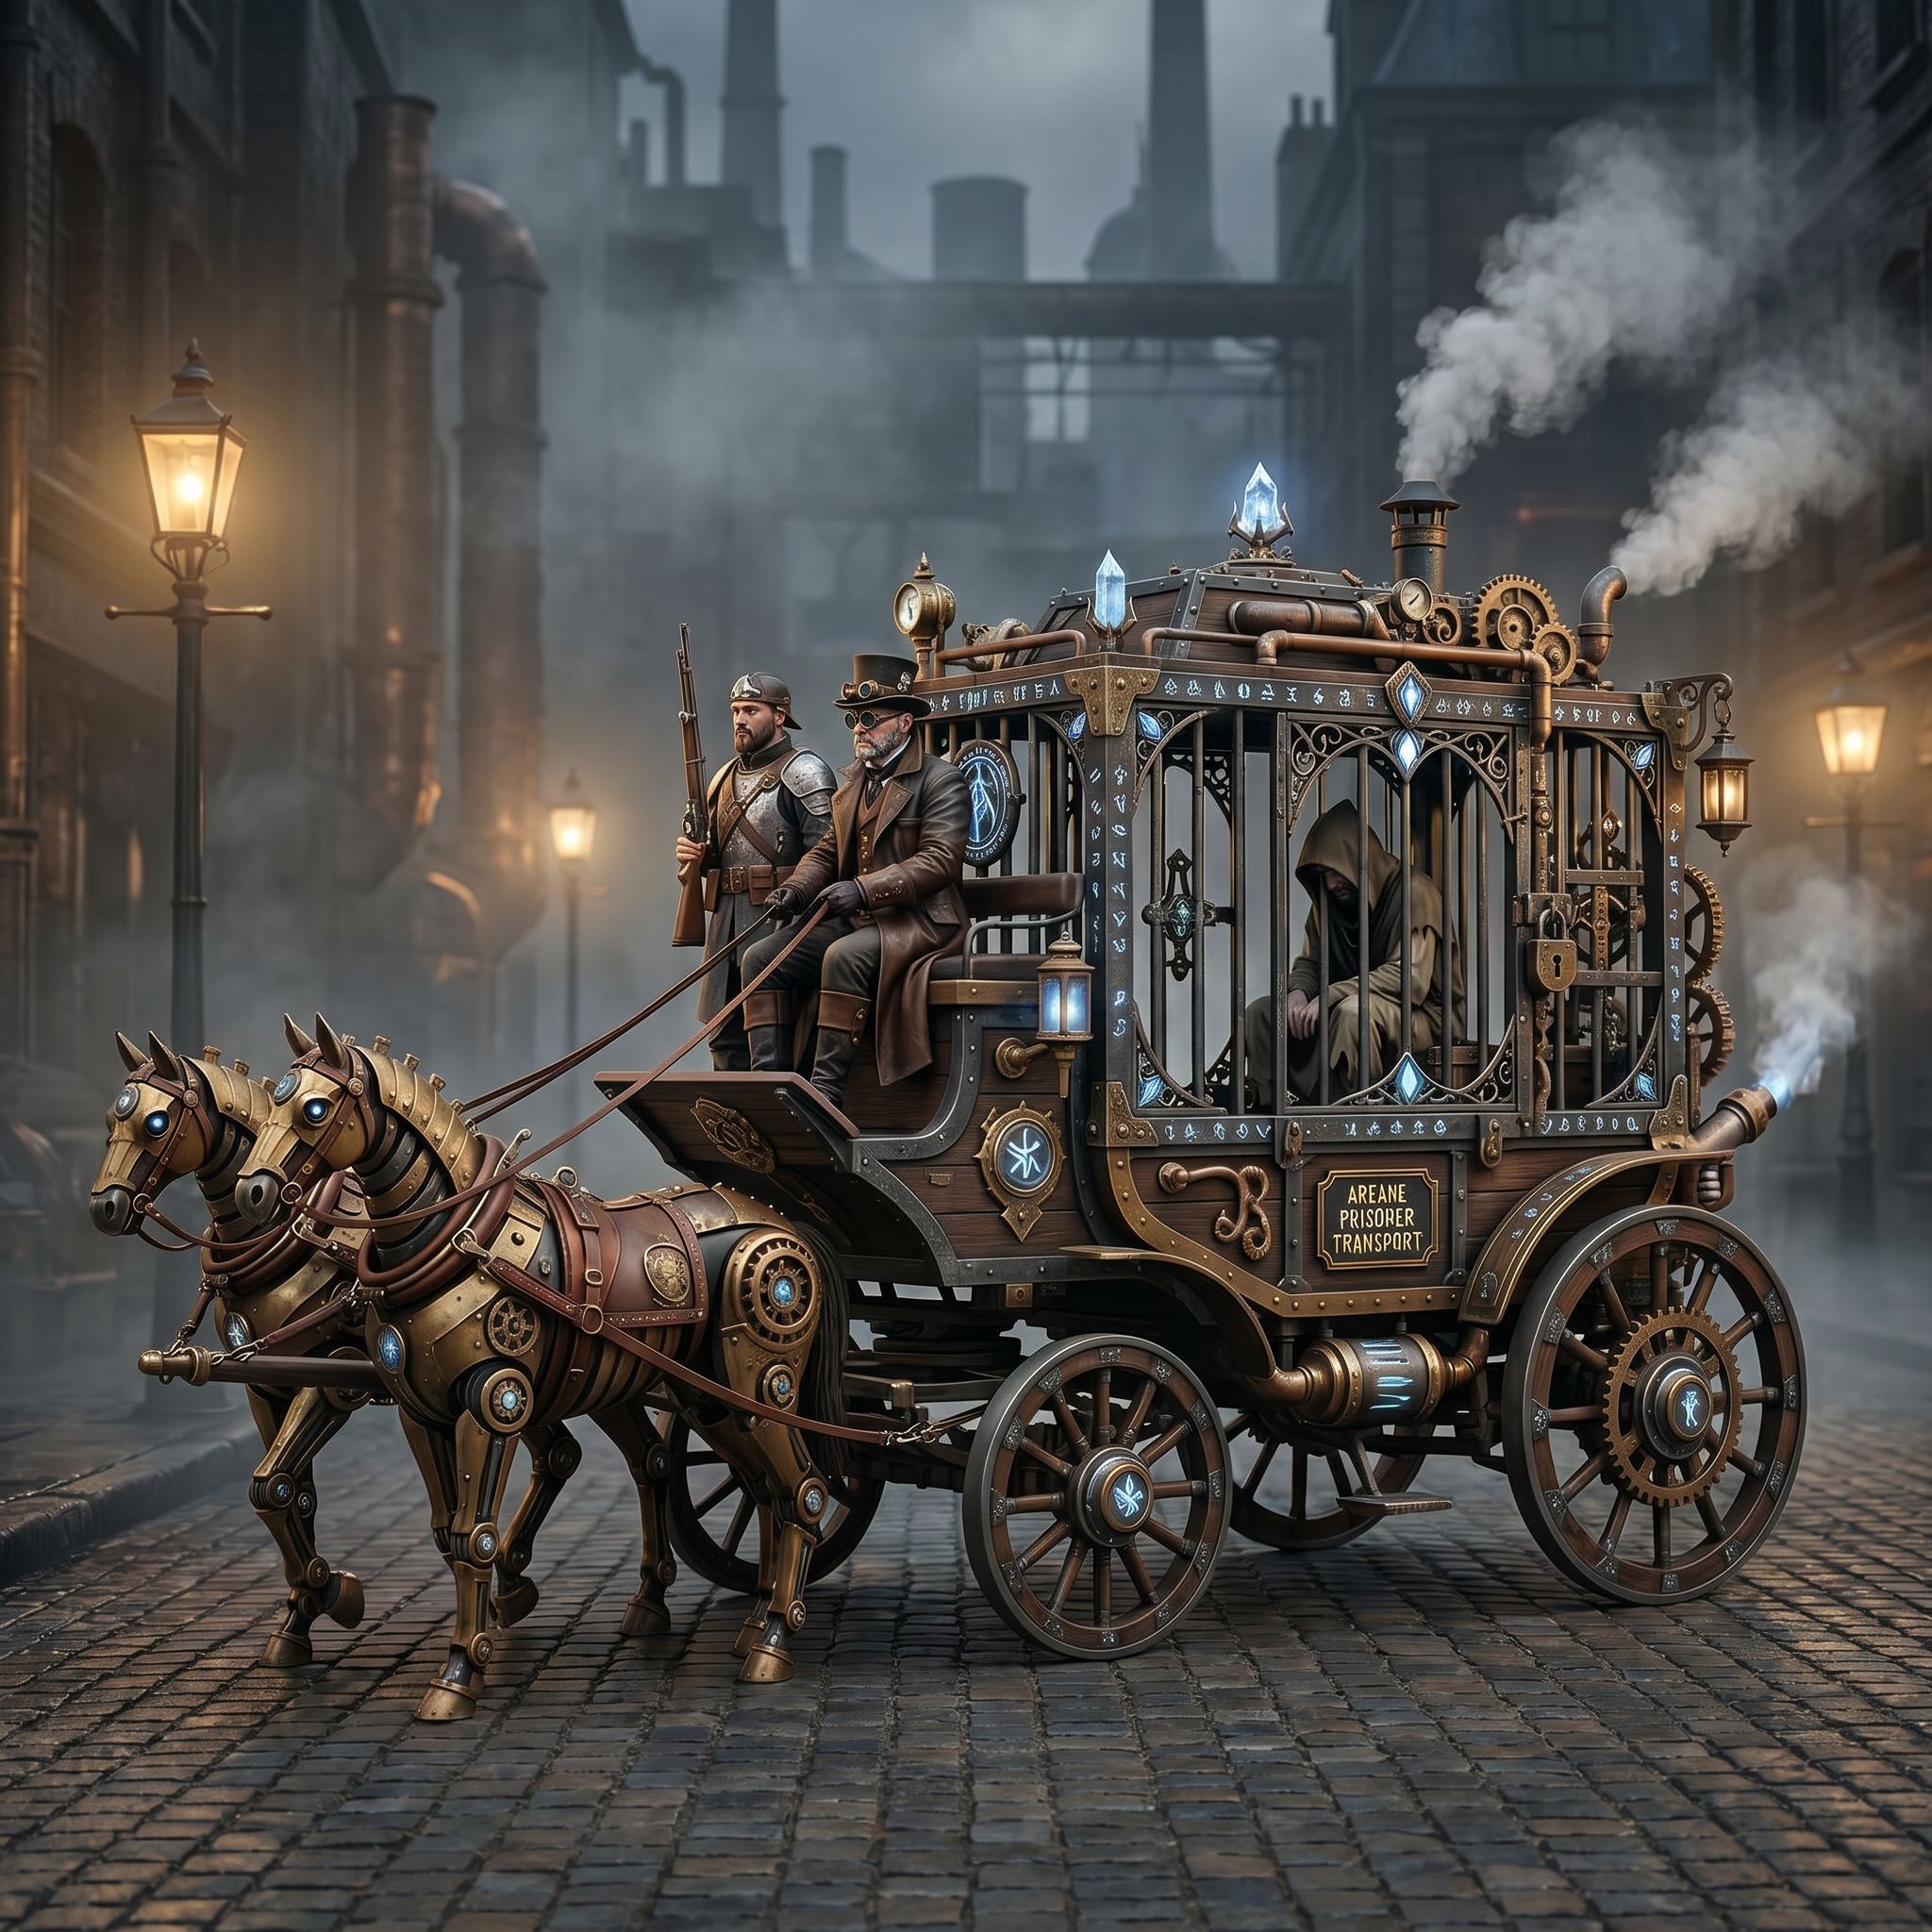
Game designers often start with a strong reference image and a vague goal: turn it into something that looks like it belongs inside a real-time engine. A community render from the Vibart workspace — a steampunk horse car reimagined in an Unreal Engine style — is a compact example of how a reference-guided AI design workflow can move from inspiration to a usable concept in a single canvas session.
The original media is a single image in the Game Design category, but the prompt does something interesting: instead of asking the model to invent a new vehicle, it asks it to convert the existing style into a different rendering pipeline. That small decision is what makes it worth studying as a workflow pattern.
Step 1: Treat the Reference as a Constraint, Not a Starting Point
The most useful prompts in image and video generation are usually the most specific. Here, the creator already had a visual direction in mind — a steampunk horse car — and used the reference image to lock the silhouette, props, and mood. The prompt simply adds a target rendering style: "convert this style to an Unreal Engine rendering style."
For designers working inside an AI creative workspace, this is the cleanest way to use reference image editing:
- Keep the original composition, character, or vehicle intact.
- Add a single, clear target style or engine aesthetic.
- Avoid piling on new subject matter inside the same prompt.
This pattern also helps with brand consistency in ecommerce and marketing assets, because it lets you keep the product or hero subject fixed while you iterate on the look.
Step 2: Choose a Style Transfer That Matches the Destination
The phrase Unreal Engine rendering style is doing a lot of work in this prompt. It tells the model to push toward:
- Cleaner, more physically grounded lighting.
- Sharper material definition (metal, leather, glass).
- Less painterly stylization and more "screenshot-ready" detail.
For a game design workflow, that target is useful because it shortens the gap between the AI output and a real engine. For an AI creative workspace comparison, this is also where canvas-based tools start to matter: you want a place to drop the reference, run the style shift, and then keep editing without exporting to a separate app.
Step 3: Move Into a Layered Canvas Instead of Stopping at the First Output
A single image generation is rarely the final asset. The steampunk horse car works as a workflow example because it suggests the next steps a designer would take inside an AI design canvas:
- Add layers for parts you want to control independently — the chassis, the horse silhouette, the steam elements, the background plate.
- Use reference-guided editing to fix one region at a time rather than regenerating the whole image.
- Control typography on the canvas if the asset becomes a key art, loading screen, or storefront thumbnail.
- Generate crop variants for hero, social, and storefront placements.
- Export production-ready files sized for game pitches, marketplace thumbnails, or in-engine mockups.
This is the part that often gets lost in an AI image generation workflow discussion: the generation is the spark, but the canvas is where the asset becomes usable.
Step 4: Treat It as One Frame in a Larger Visual System
Even though the community piece is a single image, the underlying approach scales. A steampunk vehicle is rarely shipped alone. Once the hero render is locked, the same reference-and-prompt logic can be used to build:
- A short AI-generated video turntable or fly-by for a pitch deck.
- A second variant — same car, different environment — to test how well the style holds up.
- Ecommerce-style product images of in-game merchandise if the IP moves into retail.
That is also why this kind of community work matters for a Lovart alternative AI design canvas search. The goal is not just a one-off image; it is a workspace where references, prompts, layers, and exports all live in the same flow.
What Creators Can Learn From This Piece
A few practical takeaways for anyone building a similar workflow in an AI creative workspace:
- Lead with the reference, not the imagination. A clear reference image plus a style instruction is often stronger than a long descriptive prompt.
- Name the destination style. "Unreal Engine rendering," "Octane render," "Pixar look," or "studio photo" gives the model a tighter target than a mood word.
- Plan for the canvas stage. Assume the first output is the base, and design your prompt so the result is easy to refine on a layered canvas.
- Reuse the structure for ecommerce and ads. The same reference-plus-style pattern is useful for product hero shots, ad creatives, and short AI video generation for ads.
For designers evaluating an AI design agent alternative or comparing Lovart vs Vibart AI creative workflow options, the steampunk horse car is a small but useful reminder: the best canvas is the one that lets you keep the reference, the prompt, the layers, and the exports in the same room.
Sources and further reading
The workflow and platform rules in this article are grounded in these primary references. Confirm current rules for your market and channel before publishing.
- Vibart community work: Steampunk Horse CarVibart community · 2026-04-27
Next step: make one asset with the same workflow
Do not stop at the comparison page. Upload a reference, generate a direction, then keep copy and brand elements editable on the canvas.